If you just received your custom embroidered patches from a well-reputed seller, your urge to place them on your clothes has begun. Although you already know what backing type is, which is iron-on, the next demand is the right procedure to do the task.
Embroidery patches are beautiful to look at and comprise a texture that enhances the artwork. We know you have put too much effort into personalizing your new collection of patches, so let’s head to the next step.
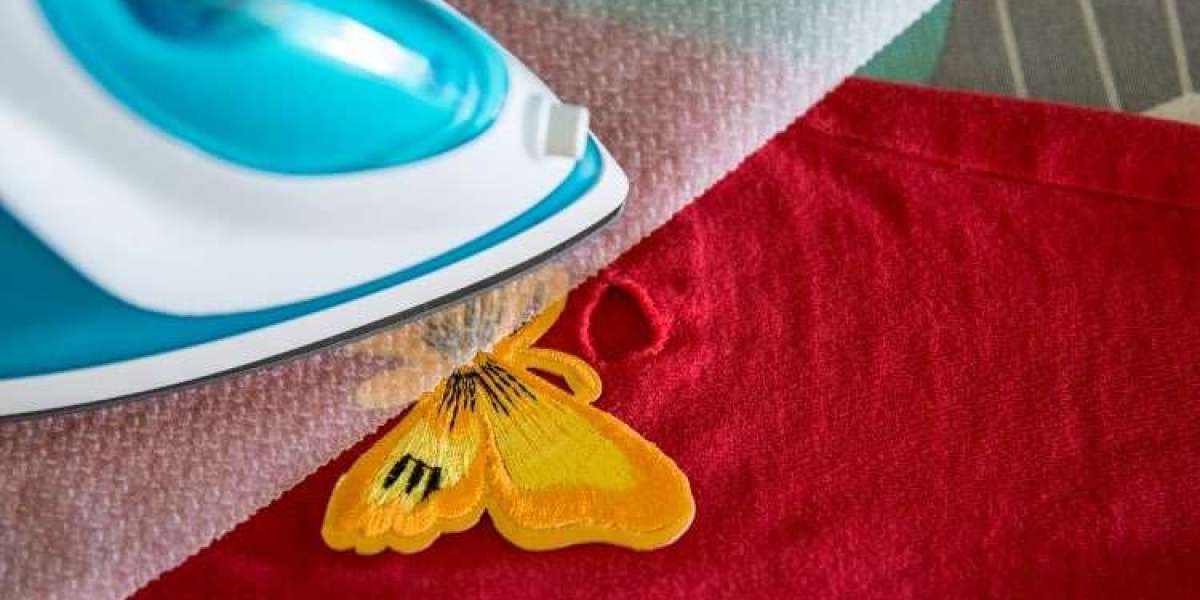
How to Apply Iron-on Embroidered Patches?
The Requirements
By requirements, we primarily mean the supplies. There is not a lot to gather. The most important thing to apply iron-on embroidered patches is the iron itself. You require a good quality appliance that can provide heat for the attaching of the patch. Most probably, you already have one in your house.
Next is a piece of fabric. This is necessary to protect the patch from direct interaction with the iron. You do not have to take a very large piece, however, it depends on the size of the patch. Besides, consider doing the work on an ironing stand or ironing board. The surface with texture can disrupt the application of custom iron-on patches.
Moreover, depending on the sort of iron you are using, you need a supply of electricity to keep the iron heated without interference. Also, you have to make sure beforehand where you are going to place the patch. Although you already had the position in your mind while ordering, this is necessary to avoid any mistakes because there is no way we allow you to destroy your clothing or the patch with the wrong placement.
The Process
Now comes the main process to apply iron-on embroidered patches. First, put the cloth on the surface of the ironing board. Place the patch where you like it the most for attachment. Turn the iron on and keep it that way for a while to let it heat up. Besides, we encountered a bit of ambiguity regarding the heat settings.
As per a source, you should allow the maximum setting for efficiency. However, according to another source, you should start with the lower heat setting for safety purposes. Most patch sellers for custom patches offer care tags on which the instructions regarding these settings are provided. You can still do the research on your own to avoid any mishaps.
Moreover, place the pressing cloth on the top of the patch. Start ironing and keep the iron steady. Moving this appliance can adversely affect the attachment. Furthermore, keep it still for around 30 to 45 seconds. Now flip the cloth, where you are placing the embroidery patch and repeat the process. You can use the pressing fabric again to successfully apply iron-on embroidered patches.
Once you complete the process, let the cloth cool down. Make sure there is no trace of heat before you wear it. In terms of selecting the material of this cloth, you should avoid nylon and rayon. This backing of embroidery patches will work well with cotton and polyester.