QuickBooks Error H505 is a common error encountered by users many times. It usually occurs when a user tries to run QuickBooks Desktop in multi-user mode. This error belongs to the H series error which is related to error issues that arise when a user attempts to access a company file, that doesn’t exist on the device or the network he is using. To tackle QuickBooks error code H505 we have brought you this article where we will discuss about this error in detail. We will provide information about its symptoms, causes and troubleshooting solutions to rectify this error. To learn more about this issue keep reading this article till the end. However, if you are seeking expert assistance you can contact our technical support team. Our experts will provide you with round-the-clock assistance and will resolve your issue by remotely accessing your software on your behalf. Reach out to us by using our helpline number i.e. +1-888-351-0999.
What are the symptoms of QuickBooks error H505?
The signs and symptoms of Multi-User Error H505 are as follows:
- This error appears and freezes an active program window.
- The system often crashes when running the same program.
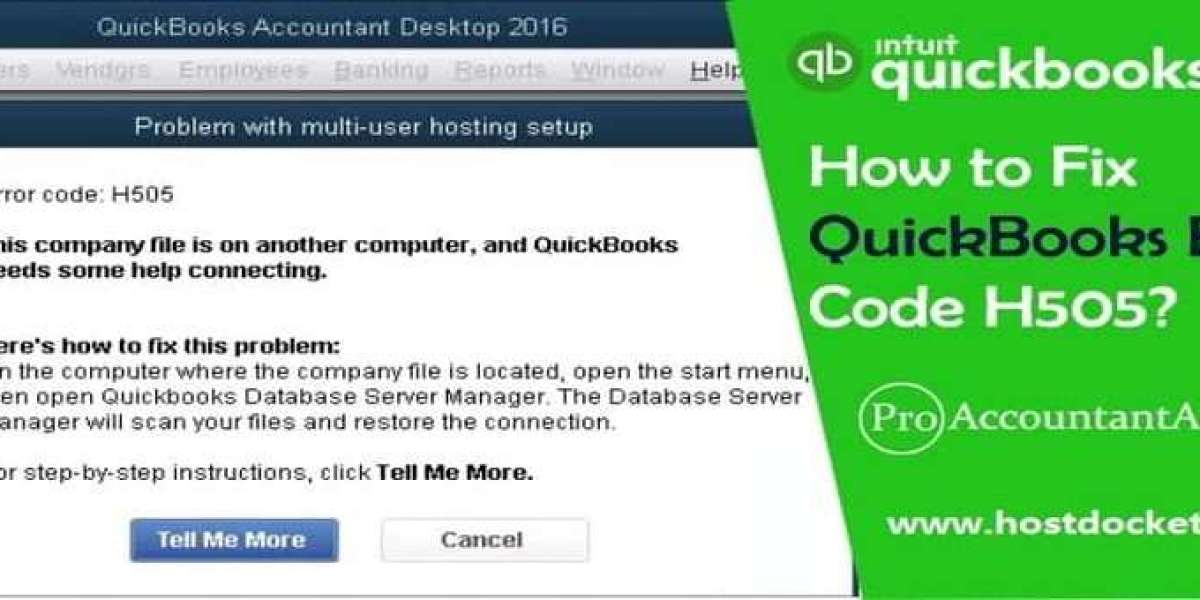
- If error code H505 appears on the screen.
- QuickBooks cannot enter multi-user mode.
- Another possible sign is that Windows is running slowly.
- If you cannot access the QuickBooks company file from another computer or server.
- If QuickBooks crashes or crashes frequently.
- QuickBooks shows slow response time when accessing company files.
Steps to Fix QuickBooks Error Code H505
Try the below steps to resolve the QuickBooks Error Code H505:
Method 1: Run the QuickBooks File Doctor Tool using the Tool Hub program
Method 2: Create a new folder for the company file and allow access to the company file
Method 3: Configuring Firewall Port Settings
Method 4: Change QuickBooks Hosting Settings
Method 5: Change system firewall settings and create exceptions
Method 6: Edit hosts file
Step 1: Find the IP address and server and workstation computer names
Step 2: Edit the Windows hosts file Now after the above steps, you need to edit the Windows hosts file:
Method 7: Run QuickBooks Database Server Manager on the server from the Tool Hub
Step 1: Download and install QuickBooks Tool Hub on the server
Step 2: Run QuickBooks Database Server Manager, from the Tool Hub program.
Method 8: Follow the steps based on how your company files are stored
Step 1: Host your private network There are two ways to configure QuickBooks Database Server Manager:
Step 2: Network Storage Using Windows Server 2012 Essentials R2 Users need to take several steps to use Windows Server 2012 Essentials R2 for network storage.
Method 9: Open the network ports that QuickBooks uses to transfer knowledge
Step 1: Configure Firewall Settings
Step 2: Enable Network Discovery
Step 3: Find out the server name
Method 10: Check services on the server