QuickBooks Web Connector is a Windows application that enables communication between web-based applications and QuickBooks Desktop.
It acts as a bridge, allowing data to flow between your applications and QuickBooks, ensuring accurate and up-to-date financial information. This integration eliminates the need for manual data entry, reducing errors and saving you valuable time.
In this step-by-step guide, we will walk you through the process of setting up QuickBooks Web Connector, from understanding its benefits to troubleshooting common issues.
So, let's dive in and learn how to set up QuickBooks Web Connector for seamless integration.
Benefits of QuickBooks Web Connector
Integrating your applications with QuickBooks using Web Connector offers numerous benefits for your business. Firstly, it automates the transfer of data, eliminating the need for manual entry and reducing the risk of errors.
This not only saves time but also ensures the accuracy of your financial records.
Secondly, QuickBooks Web Connector allows for real-time synchronization of data. Any changes made in your applications are immediately reflected in QuickBooks.
This ensures that your financial records are always up to date, providing you with accurate insights into your business's financial health.
Lastly, QuickBooks Web Connector provides a secure and reliable connection between your applications and QuickBooks.
It uses industry-standard security protocols to protect your data during transmission, giving you peace of mind that your sensitive financial information is safe.
Highly recommended: QBWC1085 Error
Prerequisites for Setting Up QuickBooks Web Connector
Before setting up QuickBooks Web Connector, you need to fulfill a few prerequisites. Firstly, you need to have a compatible version of QuickBooks Desktop installed on your computer.
QuickBooks Web Connector supports QuickBooks Pro, Premier, and Enterprise versions.
Secondly, you need to have an application that is compatible with QuickBooks Web Connector. Most reputable accounting and business applications provide support for QuickBooks integration.
Ensure that your application is compatible and has the necessary documentation or support from the application provider.
Lastly, make sure you have a stable internet connection. QuickBooks Web Connector relies on internet connectivity to establish a connection between your applications and QuickBooks.
A reliable internet connection ensures smooth data synchronization and prevents any interruptions in the integration process.
Step 1: Downloading and Installing QuickBooks Web Connector
To begin the setup process, you need to download and install QuickBooks Web Connector on your computer. Follow these steps:
- Visit the official Intuit website or QuickBooks Developer website to download QuickBooks Web Connector.
- Locate the download link for QuickBooks Web Connector and click on it to start the download.
- Once the download is complete, locate the downloaded file and double-click on it to initiate the installation process.
- Follow the on-screen instructions to install QuickBooks Web Connector on your computer.
- Once the installation is complete, you will find the QuickBooks Web Connector icon on your desktop or in the Start menu.
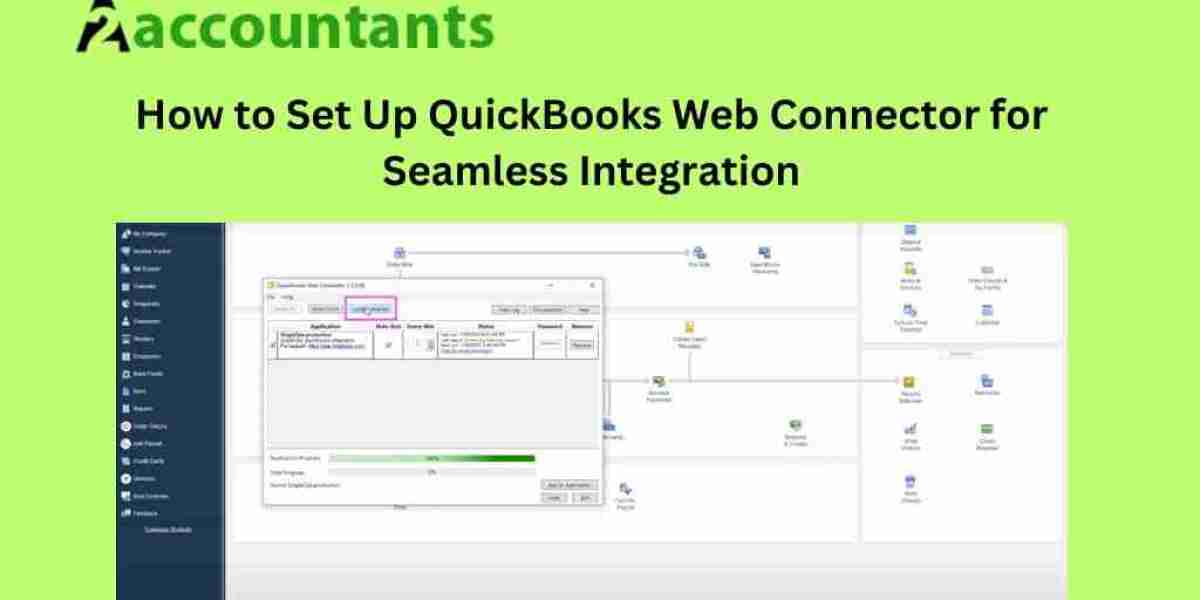
Step 2: Configuring QuickBooks Web Connector
After installing QuickBooks Web Connector, you need to configure it to establish a connection with your applications. Follow these steps:
- Launch QuickBooks Web Connector by double-clicking on the desktop icon or selecting it from the Start menu.
- On the QuickBooks Web Connector window, click on the "Add Application" button.
- Browse to the location where your application's QWC file is saved and select it.
- Click on the "Open" button to add the application to QuickBooks Web Connector.
- Once the application is added, you will see it listed in the Applications tab of QuickBooks Web Connector.
Step 3: Setting Up the QuickBooks Web Connector Password
To ensure the security of your integration, you are recommended to set up a password for QuickBooks Web Connector. Follow these steps to set up a password:
- Open QuickBooks Web Connector and click on the "Options" tab.
- In the "Password" field, enter a strong password that meets the requirements.
- Confirm the password by re-entering it in the "Confirm Password" field.
- Click on the "Save Password" button to save the password.
Step 4: Adding an Application to QuickBooks Web Connector
Now that you have configured QuickBooks Web Connector and set up a password, it's time to add your application to establish a connection. Follow these steps:
- Open QuickBooks Web Connector and go to the "Applications" tab.
- Click on the checkbox next to your application to select it.
- Click on the "Update Selected" button to update the selected application.
- QuickBooks Web Connector will establish a connection with your application, and you will see the status as "Connected" in the "Status" column.
Step 5: Establishing a Connection with Your Application
Once the application is added to QuickBooks Web Connector, you need to establish a connection between your application and QuickBooks. Follow these steps:
- Open your application and locate the QuickBooks integration settings.
- Enter the necessary credentials, such as your QuickBooks company file location and login details.
- Save the integration settings and initiate the connection process.
- QuickBooks Web Connector will communicate with your application and establish a secure connection with QuickBooks.
- You will receive a confirmation message indicating a successful connection between your application and QuickBooks.
Troubleshooting Common Issues with QuickBooks Web Connector
While setting up QuickBooks Web Connector, you may encounter some common issues. Here are a few troubleshooting tips to help you resolve them:
- Ensure that your QuickBooks company file is open and accessible.
- Check your internet connection and ensure it is stable.
- Verify that your application is compatible with QuickBooks Web Connector and meets the system requirements.
- Double-check your application's integration settings and ensure they are correctly configured.
- If you encounter any error messages, refer to the documentation or support provided by your application or QuickBooks Web Connector for troubleshooting steps specific to the error.
Conclusion
QuickBooks Web Connector is a powerful tool that allows seamless integration between your applications and QuickBooks. By following this step-by-step guide, you can set up QuickBooks Web Connector and streamline your business processes.
Automating the transfer of data, ensuring real-time synchronization, and providing a secure connection, QuickBooks Web Connector helps you save time and maintain accurate financial records. So take advantage of this powerful tool and watch your business thrive!