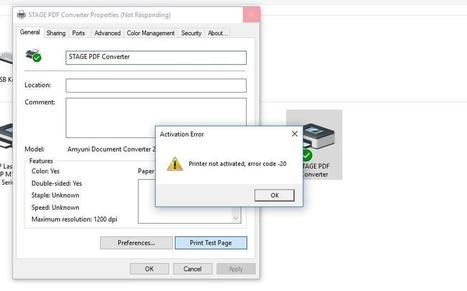
Have you ever attempted to upgrade to a newer version of Windows and met with an error? If that's the case, the QuickBooks error code 20 is probably to blame for the printer not being activated. When this occurs, it is because an upgrade to the operating system has added the H-key Current-config software key to the registry settings. This prevents you from printing pay stubs, forms, or PDFs, as well as sending email-based invoices to customers.
The QuickBooks desktop application may display the printer not activated error 20 for a variety of additional reasons as well. In the following part of this blog, we will go over all of these possible justifications as well as potential solutions to the QuickBooks error code 20.
Observable Causes of the QuickBooks Printer Error Code 20
Within QuickBooks, you could experience the QuickBooks printer error code 20 for a variety of different reasons. The following is a list of some of them:
- This error may manifest itself as a result of an incorrectly configured QuickBooks PDF converter.
- The desktop application version of QuickBooks that you have is not compatible with the version of Windows that you are running on your computer.
- Outdated versions of Windows and the QuickBooks Desktop application may be to blame for this problem.
- There is a possibility that your Windows operating system has registry errors.
- The error code 20 in QuickBooks may also be triggered by an improper or an insufficiently completed installation of the QuickBooks software.
Steps to Fix QuickBooks Error 20 While Printer Activation
Check out these methods to resolve the QuickBooks printer not activated error 20:
Solution 1: Printing from another application
Notepad will be our tool of choice for these steps. You can make an attempt to print from any other program besides QuickBooks.
- First, select "Start," and then, from the list of programs, select "Notepad."
- After you have typed some text, navigate to the File menu and select the Print option.
- Select the appropriate printer, and then click the Print button.
Solution 2: Make sure that the printer is properly configured
Follow these instructions to validate the installation of your printer.
Step 1: Check to see that the printer is properly configured
- First, power down the printer. After the computer has finished booting up, switch the power back on to the printer.
- Check to see that the correct amount of paper is loaded into the printer.
- Click the Start button, followed by the Control Panel, and then click the Printers and Faxes icon twice.
- If the printer's status displays "Offline," right-click the printer's icon and select "Use Printer Online" from the menu that appears.
- Double-click the printer, and if there are jobs waiting to be printed in the queue, select Printer from the menu, and then select Cancel All Documents from the drop-down menu.
- Put out the light and close the window before proceeding.
- To print a test page, right-click the printer, navigate to the Properties menu, and then select Print Test Page.
Step 2: Check to see that you are making use of the appropriate printer
- To configure your printer in QuickBooks, go to the File menu and select Printer Setup.
- Select the form from which you would like to print the information.
- Check that the name of the printer you want to use is exactly the same as the name of the printer you currently have installed. If this is not the case, you will need to modify the settings in the Printer Setup program on your computer.
- To obtain further information regarding these configurations, select the Help tab located within this section.
Step 3: Transfer the printout to an alternative printer
- To configure your printer in QuickBooks, select File and then Printer Setup.
- Pick the form that you want to print out from the options provided.
- Select a different printer, such as the Microsoft XP printer, if the problem persists.
- You can get more information about how to use these settings by clicking the Help button within this section.
We have made an effort to compile a list of all of the feasible and useful solutions that are available to assist you in resolving the QuickBooks Printer not Activated Error code 20.
We strongly suggest that you seek the assistance of our professionals by calling on our QuickBooks error support helpline number i.e., 1-800-615-2347 in the event that none of the solutions outlined above are unsuccessful in resolving the issues you are currently experiencing.
Read Also: How to Fix QuickBooks Error Code 1603?