Introduction:
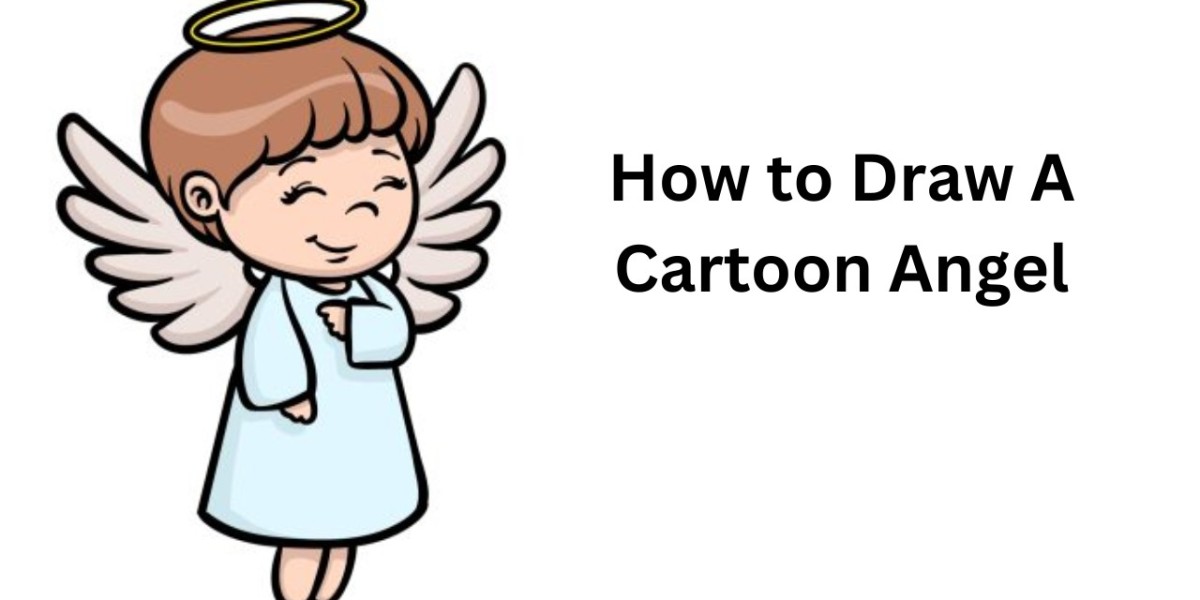
Draw A Cartoon Angel: Cartoon angels have always been popular, symbolizing hope, purity, and protection. Drawing a cartoon angel can be a fun and creative activity for artists of all ages. Whether you want to create a charming illustration for a greeting card or add a celestial figure to your comic strip, this step-by-step guide will walk you through drawing a delightful cartoon angel. So grab your pencils, erasers, and imagination, and let's get started! Also, check out simple Turkey coloring pages.
Step 1: Gathering Your Materials
Before diving into drawing, gathering the necessary materials is essential. You'll need:
Drawing Paper
Pencils
Eraser
Markers or Colored Pencils (Optional)
Step 2: Sketching the Basic Shapes
Start by lightly sketching the basic shapes that will form the foundation of your cartoon angel. We'll begin with simple geometric shapes that act as guidelines. Draw a circle for the head and an oval for the body. Next, add two lines intersecting at the center of the head circle—one vertical and one horizontal. These lines will help you position the facial features correctly.
Extend the body oval downward to create the angel's dress or robe. Depending on the angel's style, you can make it as long or short as you like.
Step 3: Drawing the Facial Features
Now that we have our basic guidelines, it's time to draw the angel's facial features. Draw two large, expressive eyes on either side following the vertical guideline. Cartoon eyes are typically exaggerated and full of emotion, so feel free to get creative with the shape and size. Below the eyes, draw a small, cute nose, and then add a smiling mouth in between. To give the angel an innocent and youthful look, draw a few small, curved lines above each eye to represent eyelashes. Next, draw two small circles above the head circle to create the halo—a classic symbol of angels. You can also add some simple lines from the halo to make it look heavenly.
Step 4: Adding the Angel's Hair and Wings
Our cartoon angel is starting to take shape, but no angel is complete without beautiful hair and majestic wings. Let's add those next. For the hair, draw a flowing, wavy pattern around the angel's head. You can make the hair as short or long as you like, depending on the angel's gender or style. Now, it's time to draw the wings. From the upper back area, sketch two large, curved lines stretching outward and slightly upward. These lines will form the top part of the wings. Then, draw a series of curved feather-like shapes connecting the two lines and forming the wings' bottom part. Remember, you're drawing a cartoon angel, so don't worry about intricate details. The focus is on creating a whimsical and charming character.
Step 5: Giving the Angel Arms and Hands
We must draw the arms and hands to complete our cartoon angel's body. Extend two lines from the sides of the body oval to create the arms. Draw simple mitten-like shapes for the hands at the end of each arm. Keep the hands relatively small and basic, as they are often less detailed in cartoon characters.
Step 6: Designing the Angel's Outfit
Now that the basic body structure is complete let's give our angel a charming outfit. Start by adding details to the dress or robe. Draw a collar and some lines to indicate folds and creases in the fabric. Add a belt around the waist for a touch of elegance.
To make the angel look even more celestial, you can add decorative elements to the outfit, like stars, hearts, or other symbols.
Step 7: Refining the Drawing
With the major elements in place, take a moment to review your drawing and make any necessary adjustments. Erase any unwanted lines or smudges to clean up the sketch.
Now is also a good time to add details and personality to your angel. Consider giving the angel accessories like a wand, musical instrument, or a bouquet.
Step 8: Adding Color (Optional)
If you prefer a colorful cartoon angel, this is the step to break out your markers or colored pencils. Select soft, pastel colors to maintain the angel's gentle and innocent appearance. Color the dress, hair, wings, and other elements carefully. You can add shading to create depth and make certain areas appear three-dimensional. Use darker shades for shadowed areas and lighter tones for highlights.
Step 9: Inking (Optional)
If you want to give your cartoon angel a more polished look, you can use ink to outline and define the drawing. Carefully go over your pencil lines with a pen or fine-tip marker. Let the ink dry before erasing any remaining pencil marks.
Step 10: Celebrate Your Cartoon Angel!
Congratulations! You've successfully drawn a charming cartoon angel. Please take a moment to appreciate your creation and share it with others. Remember that every artist's drawing is unique, so embrace your style and creativity. Drawing cartoon characters is an enjoyable journey of imagination and practice. The more you draw, the better you'll become at creating your unique characters. So keep exploring, experimenting, and, most importantly, having fun with your art!
Step 11: Exploring Variations
Now that you've mastered drawing a cartoon angel, why not explore different variations and styles? Cartoon characters offer endless opportunities for creativity and personalization. Here are some ideas to get you started:
Different Poses: Experiment with various poses for your angel. You can draw them flying, sitting on a cloud, playing the harp, or giving a warm embrace. Each pose will convey a different emotion and narrative.
Expressive Faces: Play around with different facial expressions to give your angel a wide range of emotions. Draw them smiling, winking, or looking surprised. Expressive faces can make your character more engaging and relatable.
Angel Animals: Why stop at humanoid angels? Explore the concept of angel animals. Draw angelic creatures like a bunny with wings or a puppy sporting a halo. The possibilities are limitless, and it's a fun way to infuse your drawings with a touch of whimsy.
Angel Friends: Create a group of angel characters with diverse personalities and appearances. Design angel friends who work together to spread joy and goodness. You can even craft a storyline or comic strip featuring their adventures.
Backgrounds and Settings: Place your angel character in various settings. Draw them in a heavenly realm with fluffy clouds and shining stars, or have them visit Earth on a mission to help others. Backgrounds can enhance the overall atmosphere of your drawings.
Step 12: Practicing Anatomy and Proportions
While cartoon characters allow for some exaggeration and simplification, understanding basic anatomy and proportions is essential for creating visually appealing artwork. Practice drawing different body types, poses, and gestures to improve your skills. Study the human figure and observe how real-life proportions translate into cartoon representations. By mastering the fundamentals, you'll be able to push the boundaries of your imagination while maintaining a sense of balance and believability in your drawings.
Step 13: Developing Your Style
As you continue drawing, you'll develop your unique artistic style. Embrace this journey of self-discovery, and don't be afraid to experiment with different techniques and influences. Whether you prefer a cute and whimsical style or a more detailed and elaborate one, your style will evolve as you keep drawing. Study the works of other artists you admire, not to copy their style, but to gain inspiration and insights. Observe how they use lines, colors, and shapes to convey emotions and narratives. Let these learnings influence your artwork while staying true to your individuality.
Step 14: Seek Feedback and Learn
Share your drawings with friends, family, or online art communities. Constructive feedback can be incredibly valuable for growth as an artist. Embrace both praise and critiques with an open mind. Celebrate the aspects you excel at and use feedback to identify areas where you can improve. Additionally, consider taking art classes or workshops to learn new techniques and gain insights from experienced instructors. Continuous learning and practice are the keys to honing your skills and becoming a more confident artist.
Step 15: Turning Your Art into Stories
Now that you have a collection of charming cartoon angel characters, why not turn them into stories or comics? Creating narratives around your characters adds depth and meaning to your art. You can develop heartwarming tales that resonate with your audience and spread positive messages. Use your angel characters to illustrate important life lessons, promote kindness, or explore themes of friendship and empathy. Comics, in particular, allow you to present your characters in various situations, creating engaging visual narratives.
Conclusion
Drawing a cartoon angel is about creating a visually pleasing character and expressing creativity, emotions, and storytelling. Throughout this step-by-step guide, you've learned the basics of sketching a cartoon angel and explored ways to personalize and develop your characters.
Remember, art is an ongoing journey of exploration and growth. Keep practicing, experimenting, and learning from both successes and challenges. Embrace your unique style, and most importantly, have fun bringing your cartoon angel creations to life.